Follow Me On Social Media!


Lavash Bread Bliss: Easy, Homemade Flatbread You’ll Love
Introduction to Lavash Bread
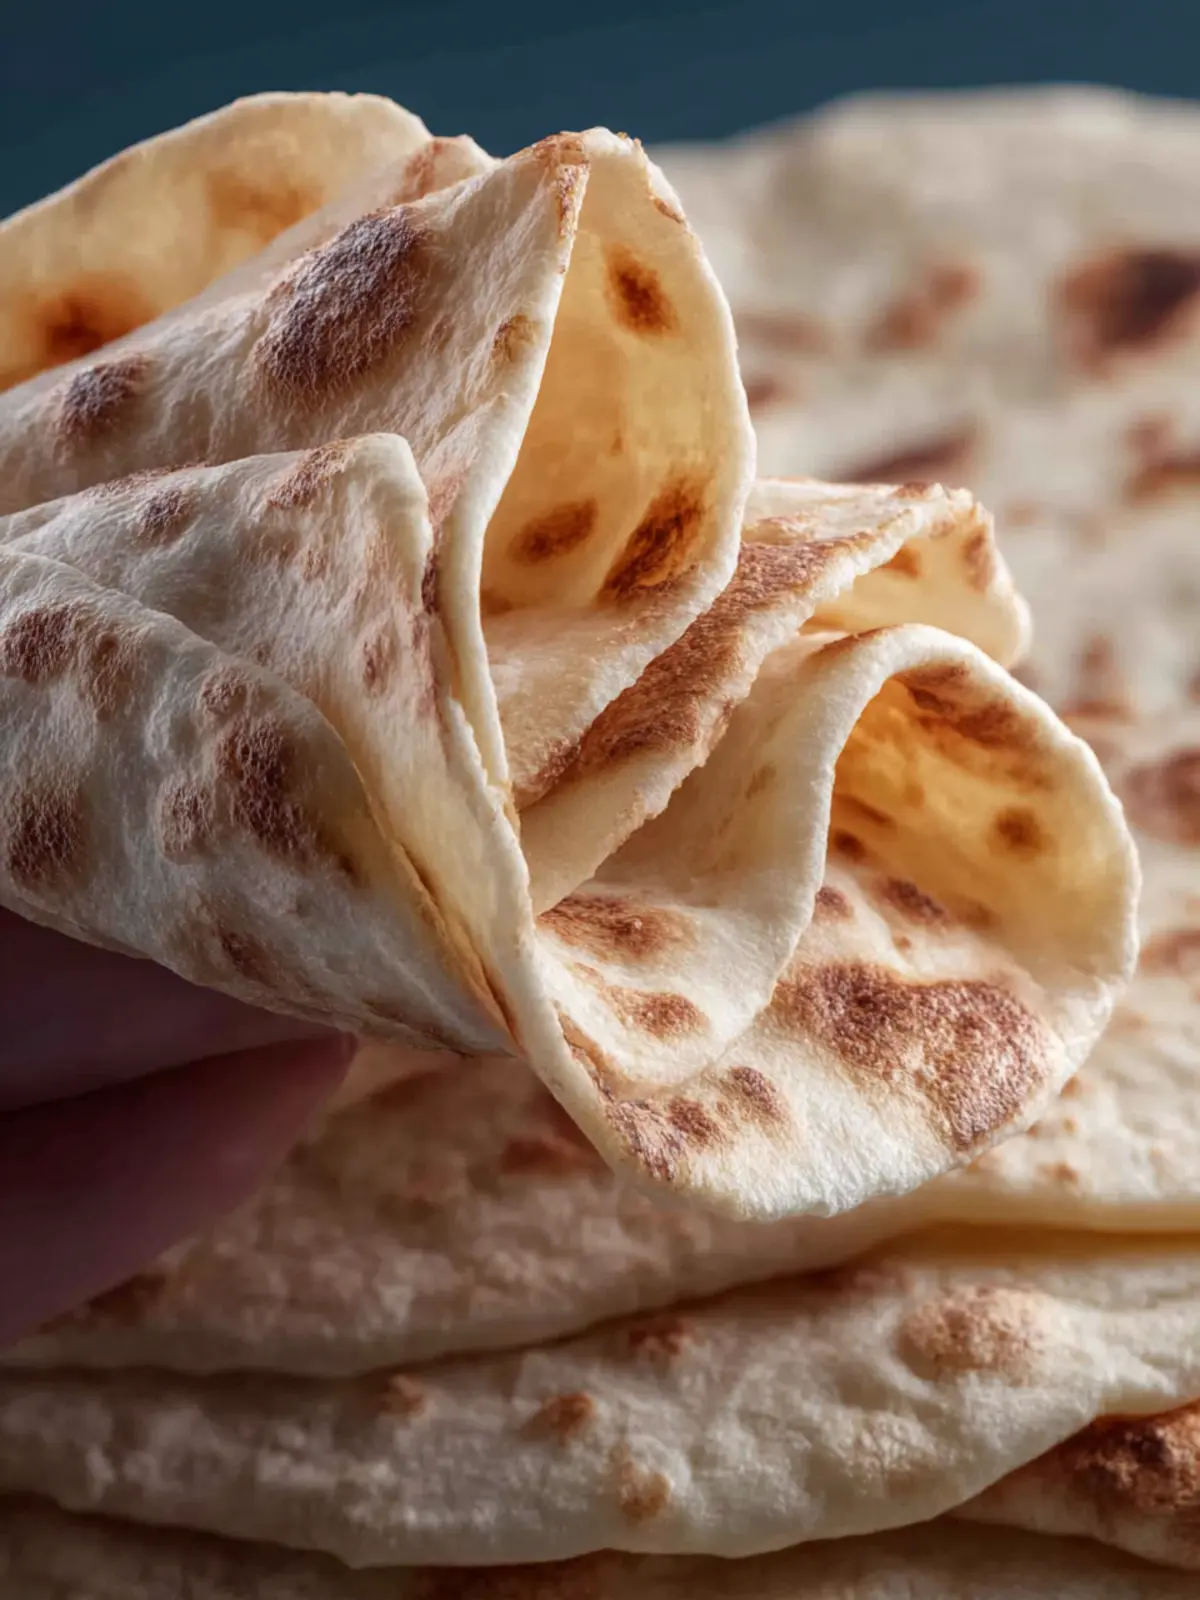
Imagine pulling a warm, freshly baked lavash bread from the oven, its thin and delicate surface shimmering as it cools. Lavash isn’t just any flatbread; it’s a culinary treasure deeply rooted in the traditions of Armenia and surrounding regions. This ancient bread has been a staple for centuries, gracing both everyday meals and special occasions alike.
What is Lavash Bread and Its Significance?
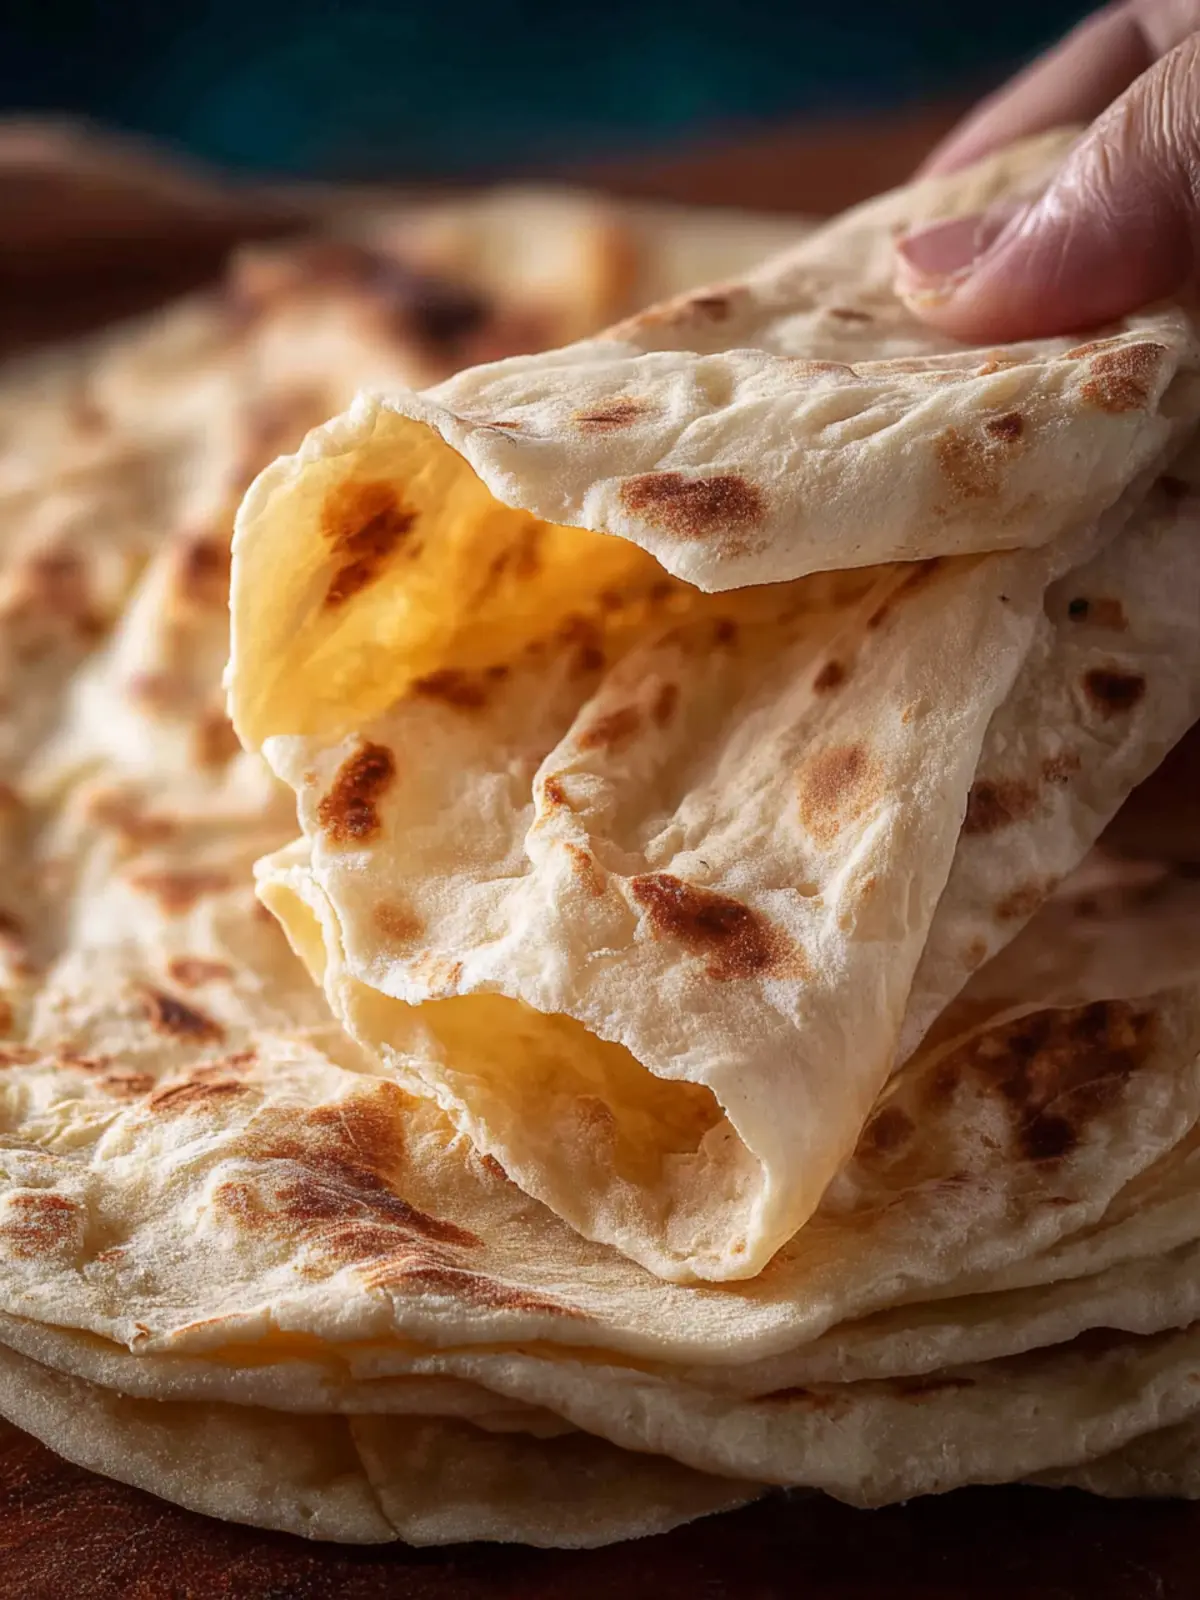
Lavash bread is a versatile, soft flatbread made primarily from flour, water, and salt. Traditionally baked in a tandoor, this bread is thin and pliable, making it perfect for wrapping around savory fillings like meats, vegetables, or cheeses. Its significance extends beyond just being a food item; it represents hospitality and community in many Middle Eastern cultures.
Historically, lavash has been a part of communal gatherings and celebrations, where families come together to share meals and stories. Did you know that UNESCO recognized traditional Armenian lavash as an Intangible Cultural Heritage in 2014? This acknowledgment speaks volumes about how this simple bread has molded culinary traditions and fostered connections among people.
In many households, making lavash bread can be a joyful family activity, transforming alone time into a shared adventure in the kitchen. Imagine the laughter and chatter as family members roll out the dough and perfect the technique of tossing it into the hot tandoor. Not only is that a moment to bond, but it also creates a delicious product to enjoy together.
Moreover, lavash isn’t just confined to its traditional uses. It’s increasingly popular in modern cuisine, making appearances in wraps, sandwiches, and even as a thin pizza base. With its straightforward ingredients and simple preparation methods, you can easily recreate this beloved bread in your own kitchen.
Undoubtedly, once you make your own lavash bread, you’ll find it hard to resist using it as a canvas for your favorite fillings or as a side to your main dishes. Let’s dive into how you can whip up this delightful bread at home!
Key Ingredients for Lavash Bread
Lavash bread is a delightful addition to any table, known for its soft texture and versatility. Picture this: a warm piece of freshly baked lavash, perfect for wrapping around your favorite grilled meats or veggies. The simplicity of this bread belies the unique flavors it offers through its key ingredients.
-
Flour: I prefer using all-purpose flour for its perfect balance of strength and softness. If you’re looking for a gluten-free option, a gluten-free flour blend can work, although the texture may differ slightly.
-
Water: Warm water is essential, as it activates the yeast and helps create a soft dough. I find that using filtered water can lead to a cleaner taste.
-
Yeast: Active dry yeast is the secret to achieving that lovely rise. It transforms our ingredients, turning simple dough into pillowy lavash.
-
Salt: Just a pinch of salt enhances the flavor of the bread and balances the taste, making every bite more delicious.
-
Olive Oil: Adding olive oil creates a tender crust and enriches the flavor profile of the lavash. It’s a small step that makes a big difference!
These ingredients come together harmoniously, allowing you to craft your own lavash bread that’s both authentic and delightful. Don’t underestimate the power of simplicity—each element plays a vital role in creating this culinary masterpiece!
Why You’ll Love This Recipe
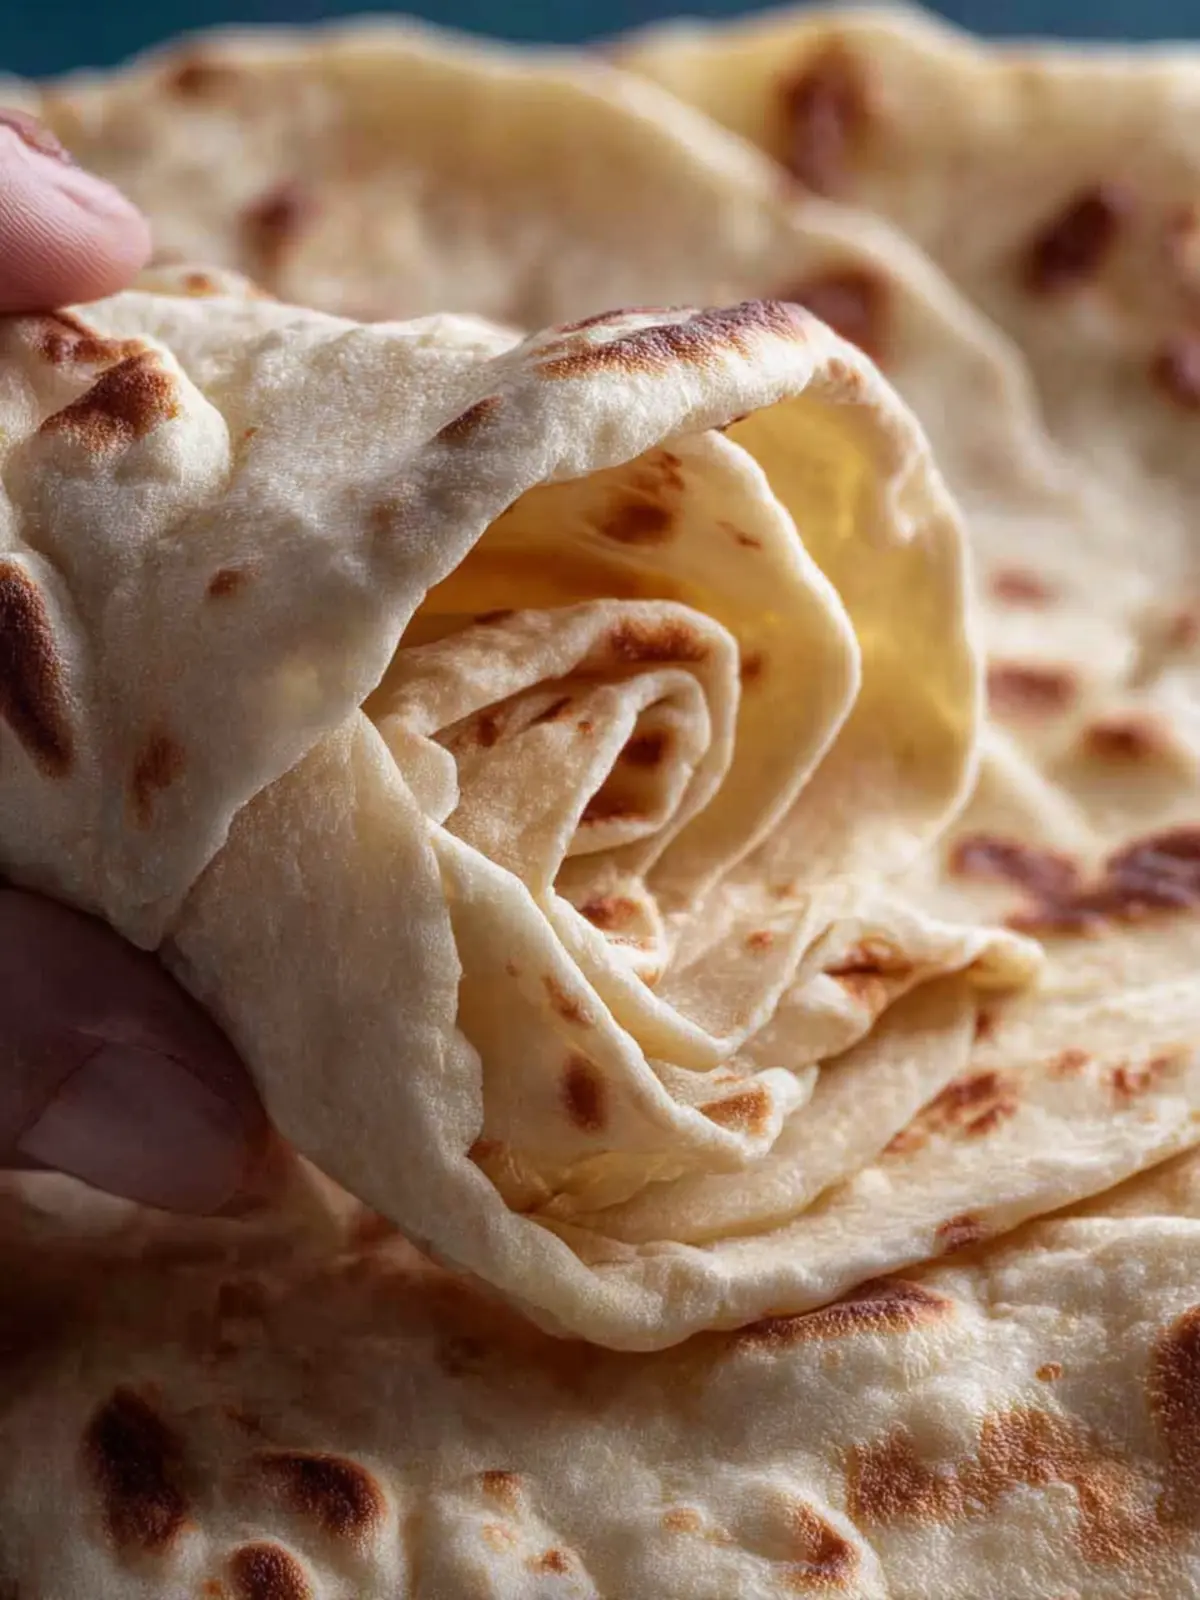
The magic of lavash bread lies in its simplicity and versatility. When you step into the kitchen to make this delightful flatbread, you’re not just baking; you’re creating a world of culinary possibilities. Picture this: warm, soft, and slightly chewy lavash ready to wrap around your favorite fillings or to soak up rich, savory dips. It’s not just bread; it’s an experience that brings joy to your table.
-
Perfect for Any Occasion: Whether you’re hosting a dinner party or enjoying a cozy night in, lavash bread can elevate your meal. Serve it with hummus for a casual snack or use it as a base for wraps and pizzas.
-
Easy and Fun to Make: The ingredients are pantry staples, making it both accessible and budget-friendly. Kneading and rolling out the dough can also be a therapeutic experience, taking you back to childhood baking with family.
-
Healthier Choice: Since this recipe allows you to control the ingredients, you can make it as wholesome as you like. Use whole wheat flour for added fiber or spices like cumin or sesame seeds for a unique twist.
Indulging in homemade lavash bread promises not just a meal but a creative culinary journey that you will cherish. So roll up your sleeves and get ready to enjoy this delightful bread!
Variations of Lavash Bread
Exploring different variations of lavash bread can turn a simple meal into an exciting culinary adventure. As you master this ancient flatbread, you’ll find there are numerous ways to customize it based on your taste preferences and dietary needs.
Flavored Lavash
One delightful option is to infuse your lavash bread with flavors. Adding herbs and spices such as za’atar, garlic powder, or rosemary to the dough can elevate its taste. A sprinkle of sesame seeds or nigella seeds before baking adds an enjoyable crunch and earthiness.
Whole Wheat Lavash
For a healthier twist, consider using whole wheat flour instead of all-purpose flour. This variation not only gives your lavash bread a nuttier flavor but also adds extra fiber and nutrients to your diet. Just remember, whole wheat dough may require slightly more water to achieve the right consistency.
Lavash Wraps
Feeling adventurous? Use your freshly made lavash bread to create wraps. Fill them with your favorite ingredients—think grilled veggies, hummus, or even a protein-packed filling like falafel or grilled chicken. The possibilities are endless, and you’ll find yourself using lavash in place of standard tortillas or bread.
Gluten-Free Lavash
If you’re looking to be gluten-free, you can experiment with gluten-free flour blends. Although the texture may differ slightly from traditional lavash bread, the result can still be delicious. There are many blends available that work well, so don’t hesitate to explore!
By trying out these variations, you’ll not only enhance your cooking skills but also enjoy a versatile bread that pays homage to its rich cultural history. Happy baking!
Cooking Tips and Notes for Lavash Bread
Making lavash bread at home can be a delightful culinary adventure that transforms your kitchen into a vibrant hub of flavors and aromas. To ensure your experience is as enjoyable as possible, here are some helpful tips for perfecting your lavash.
Perfecting Your Dough
- Kneading: Don’t rush the kneading process. Aim for about 10 minutes of kneading until the dough is smooth and elastic. This step is crucial for achieving that characteristic chewiness.
- Resting: Allowing your dough to rest is key. A minimum of 30 minutes will help relax the gluten and make rolling out the dough much easier.
Rolling Techniques
- Even Thickness: When rolling out each piece, aim for a consistent thickness of about 1/8 inch. This ensures even cooking and that delightful crispness we crave in lavash bread.
- Use Cornmeal: Generously sprinkle cornmeal on your work surface and the dough to prevent sticking and add a bit of texture.
Baking
- Oven Temperature: Utilizing a very hot oven—ideally around 475°F (245°C)—will yield beautifully toasted lavash bread. Preheating your baking surface, whether it’s a pizza stone or a baking sheet, can greatly improve results.
- Watch Carefully: Since lavash cooks quickly, keep an eye on it for that perfect golden color, which usually takes only 2-3 minutes.
Storing
- Cool Completely: After baking, let the bread cool on a wire rack to maintain its crispness. If you’re storing leftover pieces, place them in an airtight container to prevent moisture from making them soggy.
With these tips in mind, you’re well on your way to mastering homemade lavash bread. Enjoy crafting this versatile flatbread, perfect for wraps, dips, or simply enjoying on its own!
Serving Suggestions for Lavash Bread
Creating lavash bread is just the beginning—the true delight comes when you dive into creative ways to serve it. Picture yourself unwinding at home after a long day, with warm, freshly baked lavash bread just waiting to be transformed into something special. Here are a few suggestions to elevate your dining experience.
Wrap It Up
- Sandwiches: Use lavash as a wrap for sandwiches. Fill it with grilled chicken, roasted vegetables, and a drizzle of tahini for a quick, delicious meal.
- Gyros: Preparing a homemade gyro? Lavash is a perfect substitute for pita. Load it up with sliced lamb, fresh salad, and tzatziki for an authentic taste.
Dips and Spreads
- Serve with Hummus: Tear lavash into pieces and serve it with hummus or baba ghanoush for an easy appetizer at your next gathering.
- Cheese and Charcuterie: Pair lavash with a selection of cheeses and cured meats. Its light texture balances richer flavors beautifully.
Pizza-Like Delight
- Flatbread Pizzas: Top with marinara sauce, mozzarella, and your choice of toppings for a quick flatbread pizza. Bake until crispy for a delightful twist on traditional pizza.
Embrace the versatility of lavash bread—it’s not just a side but a star!
Time Breakdown for Making Lavash Bread
Making lavash bread can be a rewarding experience, and understanding the time commitment helps you prepare accordingly.
Preparation Time
The steps to prepare your dough take about 1 hour. This includes mixing the ingredients and allowing the dough to rise.
Cooking Time
Once you’ve shaped your lavash bread, cooking it will take approximately 5-7 minutes per batch. You can cook multiple pieces simultaneously if your pan allows for it.
Total Time
Altogether, you’re looking at about 1 hour and 10 minutes to get fresh, warm lavash bread onto your table. It’s a perfect addition to any meal or simply enjoyed with a dip!
Nutritional Facts for Lavash Bread
Lavash bread isn’t just a delight for your taste buds; it’s also packed with nutrients that can complement a healthy lifestyle. Knowing its nutritional breakdown can help tailor your meals to fit your dietary needs.
Calories
In a single serving of lavash bread, you can expect to find approximately 110-120 calories. This makes it a low-calorie option compared to other types of bread, perfect for wrapping up your favorite fillings without the extra calories.
Carbohydrates
Each serving contains about 20-25 grams of carbohydrates, providing a good source of energy. With its light and airy texture, lavash bread offers a satisfying base for various meals while maintaining a reasonable carbohydrate count.
Protein
You can gain around 3-4 grams of protein from one serving of lavash bread. While it’s not a high-protein food, it contributes to your daily intake, especially when paired with protein-rich fillings like grilled chicken or hummus.
FAQ about Lavash Bread
Lavash bread, a delightful flatbread with roots in ancient cuisine, offers a multitude of culinary possibilities that can take your meals to the next level. Whether you’ve just made a batch or have some store-bought on hand, you might have questions about how to make the most of this versatile bread.
How can I use lavash bread in my meals?
The beauty of lavash bread lies in its versatility. It can serve as a wrap for sandwiches, a base for mini pizzas, or even as a side for dips. Here are some unique ways to enjoy it:
- Wraps: Stuff lavash with grilled chicken, fresh veggies, and your favorite sauce for a quick lunch.
- Dips: Cut lavash into strips, toast them, and serve with hummus or guacamole.
- Pizzas: Top lavash with sauce, cheese, and your choice of toppings, then bake until crispy for a satisfying snack.
Can I freeze lavash bread?
Absolutely! Freezing lavash bread is a great way to keep it fresh for longer. Just follow these steps for optimal preservation:
- Wrap: Place your lavash in an airtight container or wrap tightly in plastic wrap.
- Label: Write the date on the package to keep track of freshness.
- Use within 2-3 months: Thaw in the refrigerator or at room temperature when you’re ready to use it.
What are the best toppings or fillings for lavash bread?
When it comes to toppings or fillings, the options are endless. Here are some favorites:
- Classic Combo: Roasted vegetables and tzatziki sauce for a healthy option.
- Mediterranean Delight: Feta cheese, olives, and sun-dried tomatoes for a flavorful twist.
- Sweet Treat: Nut butter and banana slices for a delightful breakfast wrap.
Exploring lavash bread opens up a world of creativity, making meal prep not just easy but also delicious!
Conclusion on Lavash Bread
In wrapping up your adventure with lavash bread, it’s evident that this delightful flatbread is not just a culinary staple but also a canvas for creativity. Its versatility allows you to use it in countless dishes, from wraps and sandwiches to dippable accompaniments for your favorite spreads. Whether you’re enjoying it at a festive gathering or a simple weeknight dinner, the satisfying texture of fresh lavash can elevate any meal. Remember, the secret is in the dough—using quality ingredients and following the steps closely will yield the best results. So, roll up your sleeves and get baking!
Print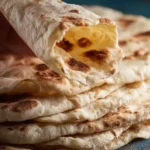
Homemade Flatbread
- Total Time: 1 hour
- Yield: 10 pieces 1x
- Diet: Vegetarian
Description
Delicious and easy-to-make homemade flatbread perfect for any meal.
Ingredients
Scale
- 3/4 cup warm water
- 3/4 cup warm milk
- 1 tbsp vegetable oil (or other neutral flavored oils)
- 1/2 tbsp granulated sugar
- 1 tsp salt
- 1 tbsp instant yeast
- 3 1/2 cup all purpose flour (plus more for dusting the surface)
Instructions
- In a large bowl mix water, milk, oil, sugar, salt and instant yeast.
- Slowly add in the flour and mix using your hands or stand mixer until the dough comes together. This would take between 8 to 10 minutes. The dough will be a bit sticky.
- Rub a bit of oil all over the dough and place it in a large bowl. Cover and let it rise for 40 minutes. (I usually let mine rise in an “off” oven)
- After 40 minutes, gently deflate the dough and divide it into 10 pieces. Shape each piece into a ball. Cover them all with a kitchen towel so they don’t dry as you cook them. Let the dough balls sit for 15 minutes as you heat the pan.
- Heat a nonstick pan over medium heat. Flour your surface and your rolling dough very well. Place a dough ball on the surface and roll it out to be very thin.
- Place it on the hot pan and cook for 45 seconds to one minute. There will be bubbles. Flip and cook on the other side for about 30-45 seconds. Place the bread on a plate and cover with a kitchen towel.
- Repeat with the remaining dough.
Notes
- Let the dough rise in a warm area for best results.
- You can adjust the thickness of the flatbread according to your preference.
- Store any leftover bread in an airtight container for up to 2 days.
- Prep Time: 10 minutes
- Cook Time: 1 minute per flatbread
- Category: Bread
- Method: Stovetop
- Cuisine: Middle Eastern
Nutrition
- Serving Size: 1 piece
- Calories: 150
- Sugar: 1g
- Sodium: 150mg
- Fat: 5g
- Saturated Fat: 1g
- Unsaturated Fat: 4g
- Trans Fat: 0g
- Carbohydrates: 25g
- Fiber: 1g
- Protein: 4g
- Cholesterol: 0mg