Follow Me On Social Media!

No-Bake Granola Bars: Easy, Delicious Fuel for Your Day
Introduction to No-Bake Granola Bars
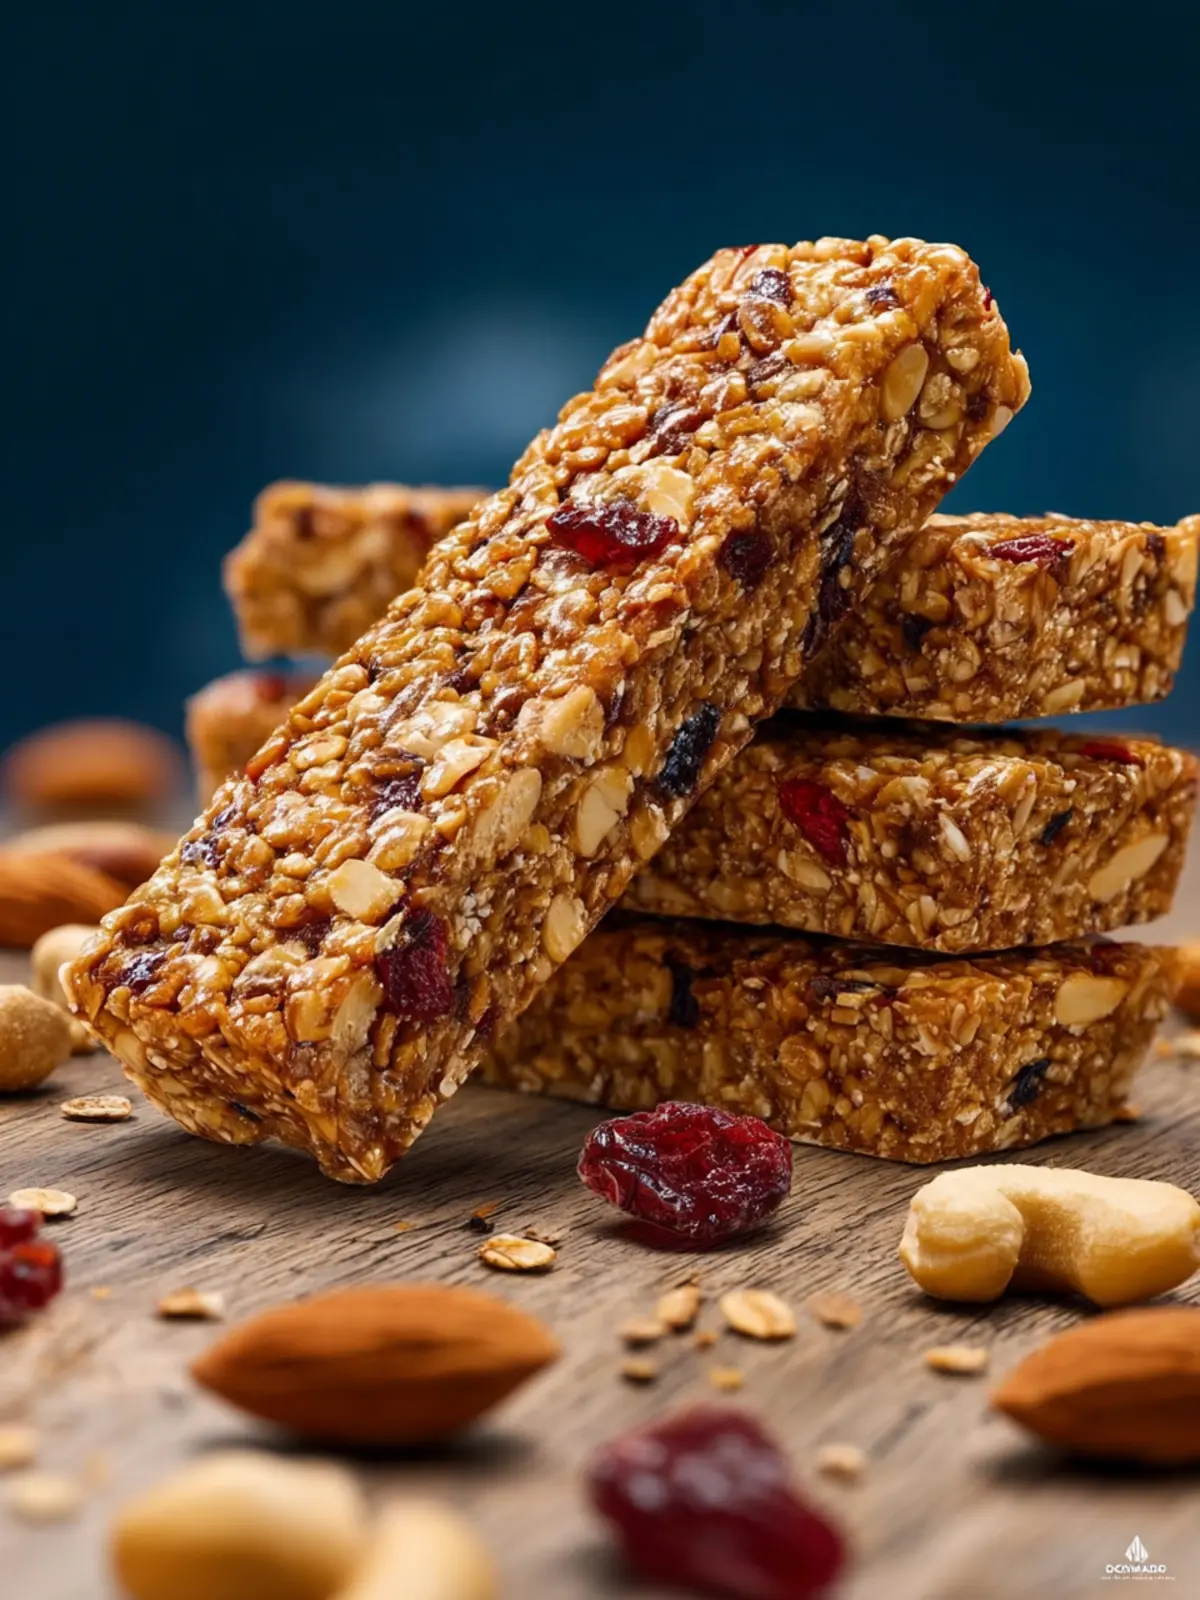
No-bake granola bars are more than just a convenient snack; they’re a delightful blend of wholesome ingredients that bring energy and joy into busy days. Imagine standing in your kitchen, the sun streaming through the window, as you prepare these fabulous bars that will fuel your upcoming adventures. They come together in minutes, require no oven time, and are perfect for those hectic mornings or afternoons when you need a quick pick-me-up.
Exploring the world of no-bake granola bars opens you up to endless possibilities. You get to play with flavors, textures, and nutrition—creating something not just tasty but custom-tailored to your preferences. Whether you love the crunch of nuts, the sweetness of dried fruits, or the chewiness of oats, you can mix and match until you find your perfect blend. This recipe is as flexible as your schedule, easily allowing you to swap ingredients based on what’s in your pantry.
What Makes No-Bake Granola Bars a Must-Try?
These delightful bars are not only simple to make but also incredibly satisfying. Here’s why they should be on your must-try list:
- Quick Preparation: With just a few simple steps, you can whip up a batch in no time. Perfect for those who are constantly on the go!
- Healthy Ingredients: Loaded with oats, nuts, and natural sweeteners, these bars provide energy while nourishing your body.
- Customizable: You can easily adjust ingredients to suit your dietary needs or preferences, making them vegan or gluten-free effortlessly.
- No Baking Required: Save power and time—no oven involved means no extra heat in your kitchen, which is a welcome relief during those warmer months.
By choosing to make your own no-bake granola bars, you have complete control over what goes into them, ensuring a guilt-free treat that you can feel good about snacking on any time of the day. Plus, they’re a hit among friends and family, making them a fun option for gatherings or a fantastic gift for those who appreciate healthy snacks. Are you ready to dive into this tasty adventure? Let’s get started!
Key Ingredients for No-Bake Granola Bars
Creating your own no-bake granola bars at home is a delightful way to explore healthy snacking. With just a handful of straightforward ingredients, you can craft a tasty treat tailored to your preferences.
Rolled Oats
I always start with rolled oats because they provide a hearty base that holds everything together. Not only do they add fiber, but they also lend a chewy texture that makes each bite satisfying.
Nut Butter
Using nut butter (like almond or peanut) adds both creaminess and essential healthy fats. It acts as the glue that binds your bars, so don’t skimp on this! The flavor complements the oats perfectly, making it an ingredient you won’t want to replace.
Sweetener
For a touch of sweetness, I opt for honey or maple syrup. Not only do they provide the necessary sweetness, but they also help to bind the bars as they cool.
Add-Ins
Here’s where you can have fun! Whether it’s nuts, seeds, or dried fruits, these add-ins bring unique flavors and textures. I love mixing in some dark chocolate chips for a hint of indulgence.
Salt
Finally, a small pinch of salt is crucial. It elevates all the other flavors and creates that perfect balance without being overwhelming.
With these key ingredients in hand, making your no-bake granola bars becomes a rewarding kitchen adventure!
Why You’ll Love This Recipe
When cravings strike for a satisfying snack, these no-bake granola bars provide an answer that’s both quick and delicious. Picture this: a busy afternoon at work when your energy dips, yet you don’t want to reach for sugary treats. This recipe transforms nutritious ingredients into a delectable snack that both fuels you and curbs your sweet tooth.
Simple and Quick Preparation
One of the standout features of this no-bake granola bars recipe is its simplicity. With just a handful of wholesome ingredients, you can whip them up in no time. The best part? There’s no oven required, making it perfect for any time of year, especially during those sweltering summer months when baking seems daunting.
Wholesome Ingredients
These bars are crafted from whole grains, nuts, and natural sweeteners, providing a nutritious snack option that fits seamlessly into your busy lifestyle. Imagine starting your day with granola bars that are both fulfilling and energy-boosting, perfect for your morning commute or a post-workout treat.
Customizable to Your Taste
What truly makes these bars a favorite is their versatility. You can easily tailor them to suit your taste or dietary preferences by adding dried fruits, seeds, or even a sprinkle of dark chocolate. It’s about creating a snack that feels personal, something you can genuinely look forward to.
In essence, these no-bake granola bars are not just snacks—they are a tasty, healthy solution that fits into your busy life. Enjoy every bite while knowing you’ve made a choice for your well-being!
Variations for No-Bake Granola Bars
Creativity is the name of the game when it comes to no-bake granola bars. These delightful treats are so versatile that you can tailor them to fit your taste preferences, dietary needs, or whatever ingredients you have on hand. Here are some variations to keep your snacking fresh and exciting!
Nut Butter Alternatives
While almond butter is a favorite for its creamy texture, feel free to switch things up! Peanut butter provides a rich flavor, or go for sunflower seed butter for a nut-free option. Each will lend its unique taste and nutritional benefits.
Flavor Enhancements
If you’re feeling adventurous, consider adding spices like cinnamon or a pinch of nutmeg to the mixture. For a tropical twist, toss in some shredded coconut or chopped dried mango. A splash of vanilla or almond extract can also elevate the flavor profile.
Seed and Fruit Mix-Ins
Customization doesn’t stop with nut butter. Add in chia seeds or flaxseeds for an extra nutritional boost. Opt for dried fruits like cranberries, apricots, or even chocolate chips to sweeten the deal!
Gluten-Free Options
Using certified gluten-free oats ensures that your no-bake granola bars cater to your gluten-sensitive friends. Just check the packaging to maintain its integrity.
With these simple variations, you can create a personalized batch of no-bake granola bars that fits any mood or occasion, making snacking not just easy but also delectable!
Cooking Tips and Notes for No-Bake Granola Bars
When making no-bake granola bars, the beauty lies in their simplicity and versatility. These easy-to-make snacks can be a creative outlet, allowing you to experiment with different flavors and ingredients. Here are some handy cooking tips to ensure your granola bars turn out perfectly every time.
Choose the Right Base Ingredients
Start with a solid base. Oats are essential as they provide texture and structure. If you want to add a fun twist, consider mixing in quick oats for a finer texture or gluten-free oats for a dietary preference.
Sweeteners Matter
For the binding action, I recommend using sticky sweeteners like honey or maple syrup. These natural options not only enhance flavor but also help the bars hold together. If you prefer a vegan alternative, agave syrup works beautifully too.
Customize Your Mix-Ins
One of the joys of making no-bake granola bars is the chance to personalize them. Incorporate nuts, seeds, or dried fruits based on your preference. Just remember, if you add more dry ingredients, increase the sweetener or nut butter slightly to maintain the right consistency.
Chill for Success
After mixing, packing the mixture tightly into a pan and then refrigerating it is key. This helps the bars set and firm up properly, making them easy to slice later on. I often leave them in the fridge overnight for the best results.
With these tips, your no-bake granola bars will not only taste delicious but also look professional—perfect for sharing with friends or keeping all to yourself!

Serving Suggestions
Discover the endless possibilities of enjoying your no-bake granola bars. Whether you’re fueling up for a morning meeting or unwinding after a long day, these bars are the perfect companion.
Pair With Your Favorite Yogurt
Craving a bit of extra creaminess? Crumble your no-bake granola bars over a bowl of creamy Greek yogurt. Not only does this add a delightful crunchy texture, but it also amps up your protein intake, making it a great post-workout snack.
Create an Energy Boosting Snack
Slice the bars into bite-sized squares for a quick on-the-go snack. These little energy bites are perfect for hiking trips or picnics in the park. Trust me; once you try it, you won’t want to leave home without them!
Perfect with Coffee or Tea
Calling all coffee lovers! Enjoy a no-bake granola bar alongside your favorite hot beverage. The nutty flavor complements the rich notes of coffee or the delicate taste of tea, making it an ideal afternoon pick-me-up.
Whichever way you choose to serve them, these bars are sure to satisfy!
Time Breakdown for No-Bake Granola Bars
Creating delectable no-bake granola bars can be both quick and satisfying. Here’s a handy time breakdown to guide your culinary adventure.
Preparation time
Gathering your ingredients and mixing them doesn’t take long. Expect about 15 minutes to whip everything together. This is the fun part—personalizing your bars with your favorite mix-ins!
Chilling time
Patience is key as the bars need to chill and set properly. Allow them to rest in the refrigerator for about 1 to 2 hours. This helps achieve the perfect chewy texture and makes slicing a breeze.
Total time
All in all, from start to finish, you’re looking at approximately 1 hour and 15 minutes to enjoy your homemade no-bake granola bars. It’s a small investment for a healthy snack packed with flavor!
Nutritional Facts for No-Bake Granola Bars
Creating no-bake granola bars not only satisfies your sweet tooth but also packs a nutritional punch. These bars are perfect for busy mornings or as an afternoon snack when you need an energy boost.
Calories
Each serving of these delightful no-bake granola bars contains about 150-200 calories, depending on the specific ingredients used. This makes them a guilt-free option for satisfying cravings without derailing your health goals.
Protein
You can expect roughly 4-6 grams of protein per bar. The nuts and seeds contribute significantly to this count, making these bars an excellent choice for a quick post-workout snack or an energizing bite throughout your busy day.
Fiber
These tasty no-bake granola bars are a good source of dietary fiber, providing around 3-4 grams per serving. The oats and nuts help keep you feeling full longer, supporting digestive health and keeping those mid-afternoon munchies at bay.
Incorporating these yummy bars into your routine not only nourishes your body but also keeps your taste buds satisfied!
FAQ about No-Bake Granola Bars
Making no-bake granola bars can be a delightful adventure in the kitchen. But like any good recipe, questions often arise. Here’s a friendly guide to some common inquiries about crafting these delicious snacks.
How can I make my no-bake granola bars firmer?
If you find your no-bake granola bars are a bit too soft, here are a few tips to firm them up:
- Chill Longer: Ensure you let your bars chill in the refrigerator for at least 2–3 hours. The longer, the better!
- Add More Binding Ingredients: Incorporating additional nut butter or honey can help bring the ingredients together more effectively.
- Include Dry Ingredients: Consider adding oats or shredded coconut to help absorb moisture and create a firmer texture.
What are some healthy add-ins for my granola bars?
Customizing your no-bake granola bars can be fun and healthy! Here are some tasty options:
- Nuts and Seeds: Almonds, walnuts, flaxseeds, or chia seeds add crunch and nutritional benefits.
- Dried Fruits: Raisins, cranberries, or apricots offer sweetness and natural fiber.
- Superfoods: Incorporate ingredients like cacao nibs or matcha powder for an health boost.
How should I store leftover bars?
To ensure your homemade no-bake granola bars stay fresh:
- Tightly Wrap: Use parchment paper or plastic wrap to keep each individual bar secure.
- Refrigerate or Freeze: Store leftovers in the fridge for about a week, or freeze them for up to three months. Just remember to let them thaw in the fridge when you’re ready to enjoy one!
Feel free to get creative, and enjoy the process of making these delicious treats!
Conclusion on No-Bake Granola Bars
In crafting your no-bake granola bars, you create not just a snack, but a canvas for your culinary creativity. They are an ideal solution for busy professionals needing a quick, nutritious bite throughout the day. With customizable ingredients, these bars let you infuse flavors and nutrients that suit your taste. Imagine the satisfaction of enjoying a homemade treat that’s as delicious as it is healthy! So, whether you’re grabbing a bar on your way to work or packing them for a weekend hike, these no-bake granola bars are your perfect companion. Enjoy the journey of making and savoring them!
Print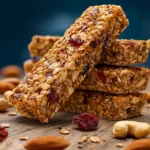
No-Bake Date Oat Bars
- Total Time: 45 minutes
- Yield: 16 bars 1x
- Diet: Vegan
Description
These delicious no-bake date oat bars are easy to make and perfect for a healthy snack!
Ingredients
Scale
- 1 cup whole dried dates (pitted)
- ¼ cup maple syrup (or honey)
- 2 tablespoons coconut oil (melted and cooled)
- 3 tablespoons creamy nut butter (all-natural is best)
- ½ teaspoon vanilla extract
- ½ teaspoon sea salt (omit if you are using salted nut butter)
- 2 cups old-fashioned rolled oats
- ½ cup optional add-ins (chopped nuts, raisins, mini chocolate chips, dried fruit, sesame seeds, chia seeds, etc.)
Instructions
- Line an 8×8 square baking dish with parchment paper or wax paper.
- If needed, cut the dates in half lengthwise and remove the pit. Unless your dates are incredibly soft, place them in a large heat-safe bowl and cover with hot water. Let soak for 5 to 30 minutes. Drain the dates, reserving the liquid.
- Place the dates into a food processor fitted with an s-blade. Process until a thick paste forms. Add in ¼ cup maple syrup, 2 tablespoons coconut oil, 3 tablespoons creamy nut butter, ½ teaspoon vanilla extract, and ½ teaspoon sea salt. Pulse until combined and creamy.
- Add in 2 cups old-fashioned rolled oats and pulse until just combined and all the oats are moistened. If needed, add some of the reserved liquid from soaking the dates, 1 tablespoon at a time, until the mixture comes together.
- If desired, add optional add-ins like chocolate chips, chopped nuts, etc. Pulse 1-2 times briefly to incorporate, but not break down the additions.
- Transfer the oat mixture into the prepared pan. Using another piece of parchment paper, press the mixture into the pan into an even layer. Place in the fridge or freezer for 15 minutes until set up.
- After chilling, use the parchment paper to lift the bars out of the pan. Cut into bars.
- Store the bars in an airtight container, separated by layers of parchment paper, in the fridge.
Notes
- These bars can be customized with your favorite add-ins.
- For a crunchier texture, feel free to add in nuts or seeds.
- Chilling them longer makes them easier to cut.
- Prep Time: 10 minutes
- Cook Time: 0 minutes
- Category: Snacks
- Method: No-Bake
- Cuisine: American
Nutrition
- Serving Size: 1 bar
- Calories: 150
- Sugar: 8g
- Sodium: 50mg
- Fat: 7g
- Saturated Fat: 3g
- Unsaturated Fat: 4g
- Trans Fat: 0g
- Carbohydrates: 20g
- Fiber: 3g
- Protein: 3g
- Cholesterol: 0mg